Practical Cleaning Guide for Tenants at Lease End
Posted on 25/06/2025
Moving out at the end of your lease is a significant event. Whether you're an experienced renter or a first-time tenant, one thing remains critical: ensuring your rental property is spotless before handing back the keys. Not only does thorough cleaning help secure your full bond refund, but it also leaves a good impression with landlords and property managers. This expert guide offers a comprehensive and practical cleaning plan to help tenants get their rental property ready for final inspection. Learn everything you need to know about end-of-lease cleaning, what landlords expect, and how to tackle each area of your home like a pro.
Why Is End-of-Lease Cleaning So Important?
End-of-lease cleaning (also called bond cleaning or move-out cleaning) is more than a courtesy - it's usually a condition of your tenancy agreement. Rental agreements typically specify that the property must be returned in the same condition it was at the start of your lease, minus fair wear and tear.
- Maximising bond return: Most or all of your bond (security deposit) may only be refunded once your property passes inspection.
- Avoiding disputes: Thorough cleaning prevents disagreements or expensive cleaning charges from your landlord.
- Good references: Leaving the property immaculate improves your chances of a positive reference for future rentals.
Simply put, a checklist-based approach to end-of-lease cleaning is your best strategy.

What Landlords & Agents Expect at Lease End
Real estate agents and landlords have clear expectations when it comes to end-of-lease cleanliness. "Clean" doesn't mean tidy - it means deep-cleaned. You're required to restore the property to its original state. This typically includes:
- Removal of all personal belongings
- Thorough cleaning and sanitizing of every room
- Addressing any marks, stains, or residues
- Emptying buckets, bins, and storage areas
- Minor repairs where needed
End-of-Lease Cleaning vs. Regular Cleaning
Regular cleaning involves your weekly chores, but end-of-lease cleaning needs to be much more detailed and comprehensive. Here's why:
- All surfaces and hidden areas: Clean behind appliances, skirting boards, inside cupboards, and light fittings.
- Appliance cleaning: Ovens, exhaust fans, and A/C filters often require special attention.
- Stains and marks: Any spots on walls, flooring, and fixtures must be addressed.
Your Step-by-Step End-of-Lease Cleaning Guide
Preparation is essential. Gather all your supplies, allow plenty of time, and plan your cleaning tasks by area. If possible, clean after all furniture and personal items are removed.
1. Gather Your Supplies
- Cleaning products (multi-purpose sprays, disinfectant, glass cleaner, oven cleaner, toilet cleaner)
- Scrubbing sponges, microfiber cloths, brush
- Mop and bucket
- Vacuum cleaner or broom/dustpan
- Trash bags
- Rubber gloves, old towels/paper towels
Tip: You may also need sugar soap, grout cleaner, or specialist products for stubborn stains.
2. Create an End-of-Lease Cleaning Checklist
Use a detailed checklist to ensure that no area is missed. Here's a comprehensive structure to follow:
- Kitchen Cleaning
- Bathroom Cleaning
- Living Areas & Bedrooms
- Windows, Walls, Doors & Skirting
- Outdoor & Balcony Areas
- Garage, Storage & Other Spaces
Kitchen: The Heart of End-of-Tenancy Cleaning
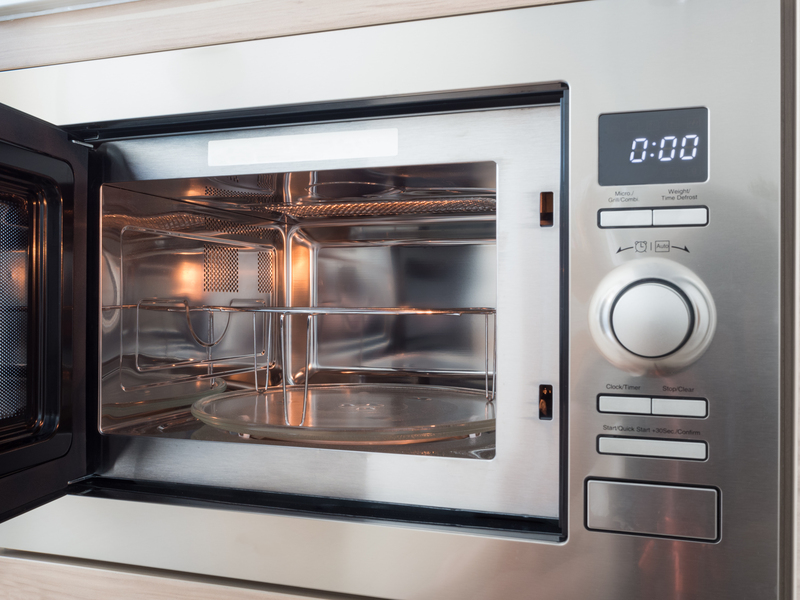
- Oven and grill: Use a strong oven cleaner, remove racks and trays, scrub thoroughly.
- Cooktop and rangehood: Clean all burners, plates, and knobs. Wipe rangehood filters or soak if removable.
- Sink and taps: Descale, disinfect, polish chrome, and scrub away stains or residue.
- Cupboards and drawers: Empty, wipe inside and out. Remove crumbs, spots, cobwebs.
- Benchtops and splashbacks: Remove oil/food splatters. Polish surfaces.
- Fridge and freezer: If included, defrost and clean all shelves and seals.
- Floors: Sweep and mop thoroughly, focus on corners and under appliances.
Don't forget small details like exhaust fans, power points, and light switches!
Bathroom & Laundry: A Deep Clean Must
- Showers and bath: Remove soap scum, mould, and limescale on screens and tiles. Scrub grout and polish fixtures.
- Toilet: Clean inside the bowl, under the rim, cistern, and exterior. Replace or clean toilet brush if needed.
- Vanity and basin: Wipe all surfaces, clean mirrors and tapware.
- Cupboards and drawers: Empty, clean inside and out.
- Floors and drains: Mop and disinfect; remove any hair or debris from drain covers.
- Laundry: Clean sinks, splashbacks, washing machine and dryer (if included). Wipe appliances and filter lint traps.
- Ceilings and fans: Remove mould or dust from exhaust fans and ceilings.
Living Rooms & Bedrooms: Attention to Detail
- Floors: Vacuum carpets and rugs, mop hard floors. Consider professional carpet steam cleaning if required in your lease.
- Wardrobes and shelves: Empty and wipe inside drawers and cupboards.
- Door tracks and skirting boards: Wipe free from dust and marks.
- Light fittings and fans: Dust or wash, ensuring all bugs and cobwebs are removed.
- Power points and switches: Wipe lightly with a damp cloth.
- Windows and sills: Clean glass, frames, and sills for streak-free finish.
Windows, Doors, Walls & Skirting
- Windows: Clean inside and outside (as accessible), focus on streaks, fingerprints, and grime.
- Walls: Spot clean all marks, scuffs, and fingerprints with a damp sponge or magic eraser. Check for blu-tack, sticky tape, or hooks.
- Doors: Wipe both sides, including frames and handles.
- Skirting boards: Dust and wipe throughout the property.
Bonus Tip: Use a vacuum with a dusting brush to tackle cornices and stubborn dust in corners.
Outdoor, Garage & Storage Areas
- Balcony/veranda: Sweep leaves, clean railings and light fixtures. Mop or hose floor surfaces.
- Lawn and gardens: Mow lawns, remove weeds and tidy up garden beds. Dispose of any rubbish or debris.
- Bins: Empty and wash rubbish/recycling bins.
- Garage/storage: Sweep out, remove oil spots, and clear cobwebs.
Outdoor areas are often overlooked but are part of most property inspections.
Common End-of-Lease Cleaning Mistakes
- Forgetting hidden or high areas: Check on top of cupboards, extraction fans, light fittings and behind appliances.
- Neglecting professional carpet cleaning: Many leases specifically require professional carpet steam cleaning - check your contract!
- Leaving residue or smells: Use odour neutralisers and air out the property thoroughly before inspection.
- Missing pet-related cleaning: Eliminate all traces of pet hair, odours, and treat for fleas if pets lived inside.
- Moving out too late: Give yourself a buffer in case cleaning takes longer than expected.
DIY vs. Professional End-of-Lease Cleaning Services
The decision to do your own cleaning or hire a professional end-of-lease cleaning service depends on:
- Your time and energy: Cleaning a whole property takes significant effort, often 7-12 hours or more.
- Quality required: Professional cleaners guarantee a thorough bond clean and provide receipts for agents.
- Budget: Weigh the cost of a cleaner versus potential bond deductions.
A professional end-of-lease cleaning company can be a wise investment, especially for large homes, pet-friendly properties, or if your agent is very particular.
Preparing for the Property Inspection
- Book your inspection: Arrange a final walk-through with your agent after cleaning.
- Take photos: Document your cleaning efforts for your records.
- Have your checklist ready: Review it with your agent during inspection.
- Address last details: Remove rubbish, close all windows, and return keys as arranged.
If the agent finds any issues, you might be given time to fix them before any bond deduction.
Frequently Asked End-of-Lease Cleaning Questions
How clean must a rental property be when I move out?
The property should be as clean as when you moved in, with all evidence of your occupancy removed. Check your entry condition report for reference.
Do I need to steam-clean the carpets?
If your lease states that professional carpet or upholstery cleaning must be done, retain the receipts and provide them to your agent.
What if I can't remove a stain or damage?
Document all issues and notify your landlord. You may need to pay for repairs if the problem is beyond fair wear and tear.
Can I be charged if I miss something?
Yes - agents can deduct from your bond if cleaning isn't up to standard. Always double-check your checklist!

Final Lease-End Cleaning Tips for Tenants
- Start early: Don't underestimate the time required for a thorough clean.
- Work from top to bottom: Clean ceilings, then walls, then floors last.
- Move furniture: Clean underneath and behind all large items.
- Double-check all rooms: Use your checklist to inspect every area after cleaning.
- Dispose of rubbish responsibly: Take all waste offsite and clean bins.
- Ask for help if needed: Consider splitting tasks or hiring professionals for a stress-free move.
Conclusion: Secure Your Bond with Smart Cleaning
End-of-lease cleaning is an unavoidable part of renting, but it doesn't have to be overwhelming. With a structured approach, a detailed checklist, and focused cleaning efforts, tenants can confidently pass their inspection and recover their bond in full. Remember, attention to detail, preparation, and persistence pay off. If time and resources allow, professional cleaning is an excellent investment. Otherwise, follow this practical end-of-lease cleaning guide step by step, and you'll leave your rental sparkling - and your property manager impressed.
For more advice on moving out, cleaning tips, and rental rights, explore our other guides or contact your property manager.
Good luck with your next home, and happy cleaning!
Latest Posts
Air Quality's Role in Creating Healthier Home and Work Environments
Achieve a Refreshingly Mold-Free Bathroom
A Fresh Perspective on Cleaning Leather Sofas with Steam
Enjoy the Freshness of a Pet Odor-Free Home
Impress with Cleanliness: Battle Grease on Enamel Trays with Ease


